
Installing an Embassy ceiling is easy with the help of a few good tools and tips!
This article will show you some tools and tips for a simpler installation!
The necessary tools
Before you start, plan for the tools you will need :

Plan your project
To make sure you have the right amount of materials on hand to complete your project, we invite you to use the materials calculator available on our website.
Click here to access: Material Calculator.

Embassy materials
To make your Embassy ceiling, you will need the following materials:
 |
 |
 |
 |
 |
Tips and Tricks
To help you in your project, use the following tips:
1. Align the template with the mark in the center of the room.

2. Glue the main crossbars together to create an inside corner and a 90 degree outside corner.
3. In some cases, use a nailer to fasten the secondary crossbars.

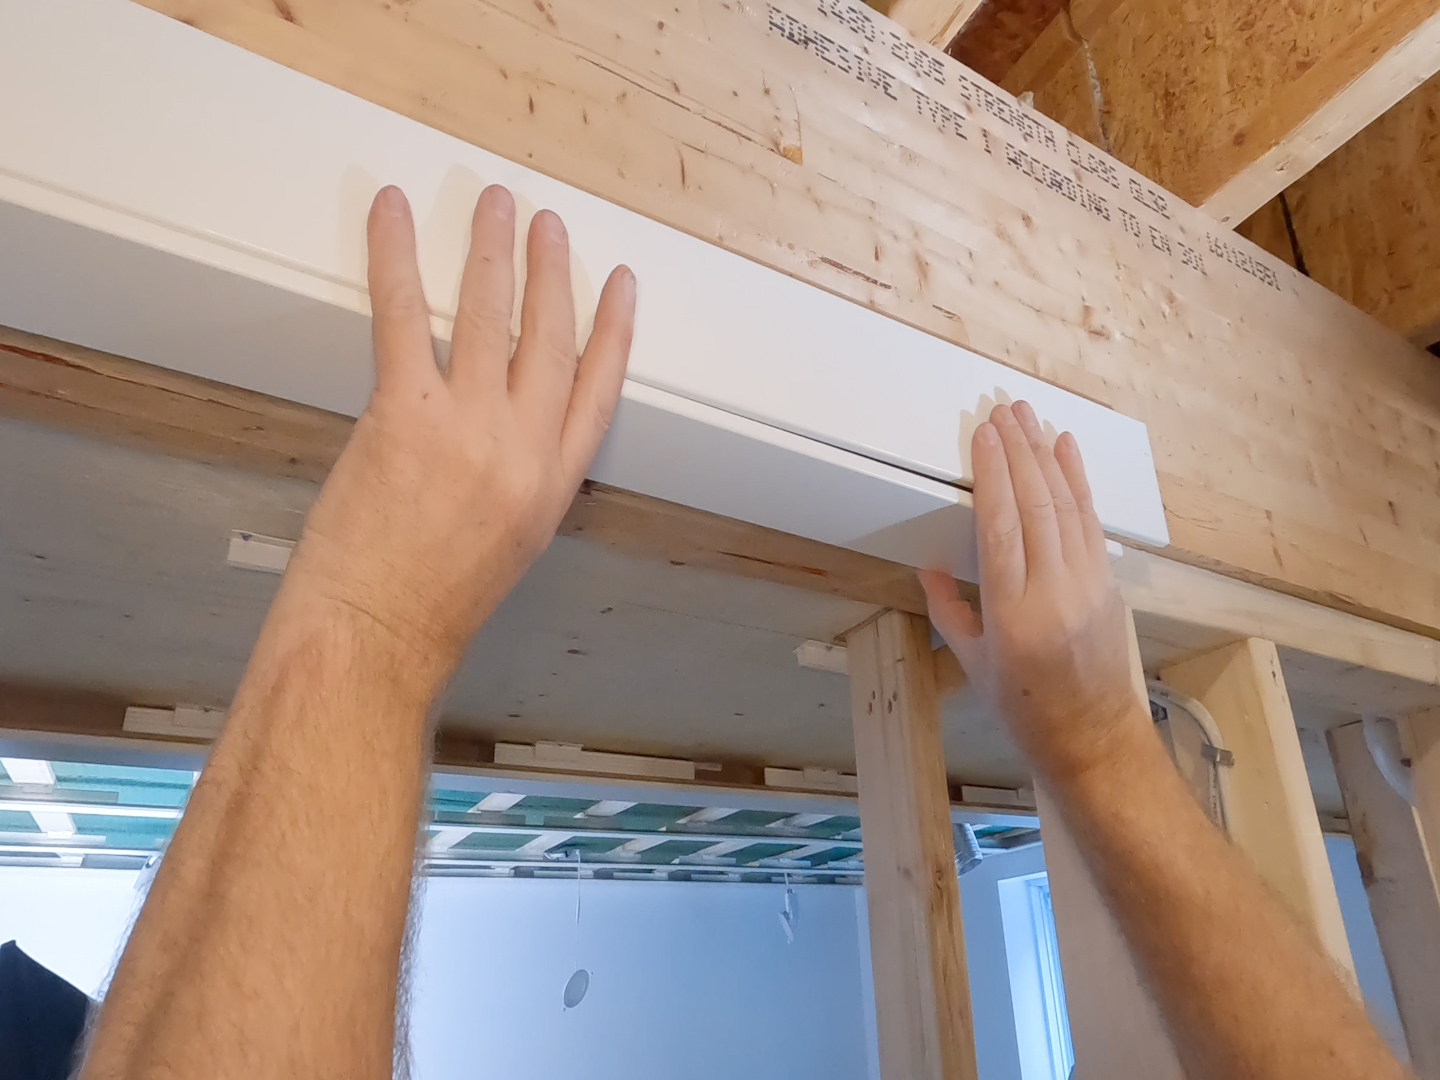
4. Use tape to hold the main crossbars temporarily.

5. Use screws and cardboard to support the top part of the main crossbar as shown.

6. Cut 3/8 inch brackets and insert them in the bottom of the crossbar to support the panels.

7. Take the inside measurement of the cross members and add 3/8 inch for the panel dimension.
For more details, check out the Tips & Tricks video, the full installation video and read the complete Installation Guide.
Additional videos on the topic are also available in our Learning Center.
Do you have more questions?
Consult the "Frequently Asked Questions" section of our Web site and the product brochure.
Our products are available at most hardware stores in Quebec. You can find the list on our Web site.
You wish to calculate the material that will be needed for your project?
Use the Embassy Ceilings quantity calculator, also on our website.